Reports
Purpose/Overview
In this article, you will learn how to create and view reports in Utilisphere. Reports provide information about company operations, user productivity, ticket activity, billing, and other data collected in the system.
Reports help managers, administrators, and other authorized users monitor activity, review trends, and export information for further analysis or recordkeeping.
Tickets remain available in the Ticket Summary for 60 days. After 60 days, tickets can be accessed through the Archive Search.
Navigation Path:
To access this feature, go to: Utilisphere > Analytics > Reports

Things to Know:
- The available report categories, reports, and fields may vary based on your company’s configuration and your user permissions.
- Each report uses different criteria. Not every field described in this article appears in every report.
- Facility types, folders, registration codes, responses, reasons, and other options may be configured specifically for your company.
- The Reasons report is available only when the Reasons option has been configured for your company.
- Some report results may be limited by the selected date range, date type, ticket category, or number of hours.
- Tickets are available from the Ticket Summary for 60 days before moving to the Archive Search.
- Reports can be searched, refreshed, paged through, and exported in several file formats.
Key Benefits/Use Cases:
- Monitor company operations: Review ticket activity, workload, billing information, and other operational data.
- Evaluate user productivity: View actions performed by users and locators on tickets.
- Review ticket status: Identify tickets that are open, closed, received, or past due.
- Analyze One Call activity: Review tickets received from a particular One Call Center.
- Support billing and reporting needs: Gather information about locator-related revenue and export the results for further analysis.
- Prepare field worksheets: Generate and print ticket lists for users working in the field.
- Review historical information: Use report criteria and available searches to locate relevant ticket data.
How It Works:
Follow these steps to create a report:
On the top menu bar, select Analytics > Reports.
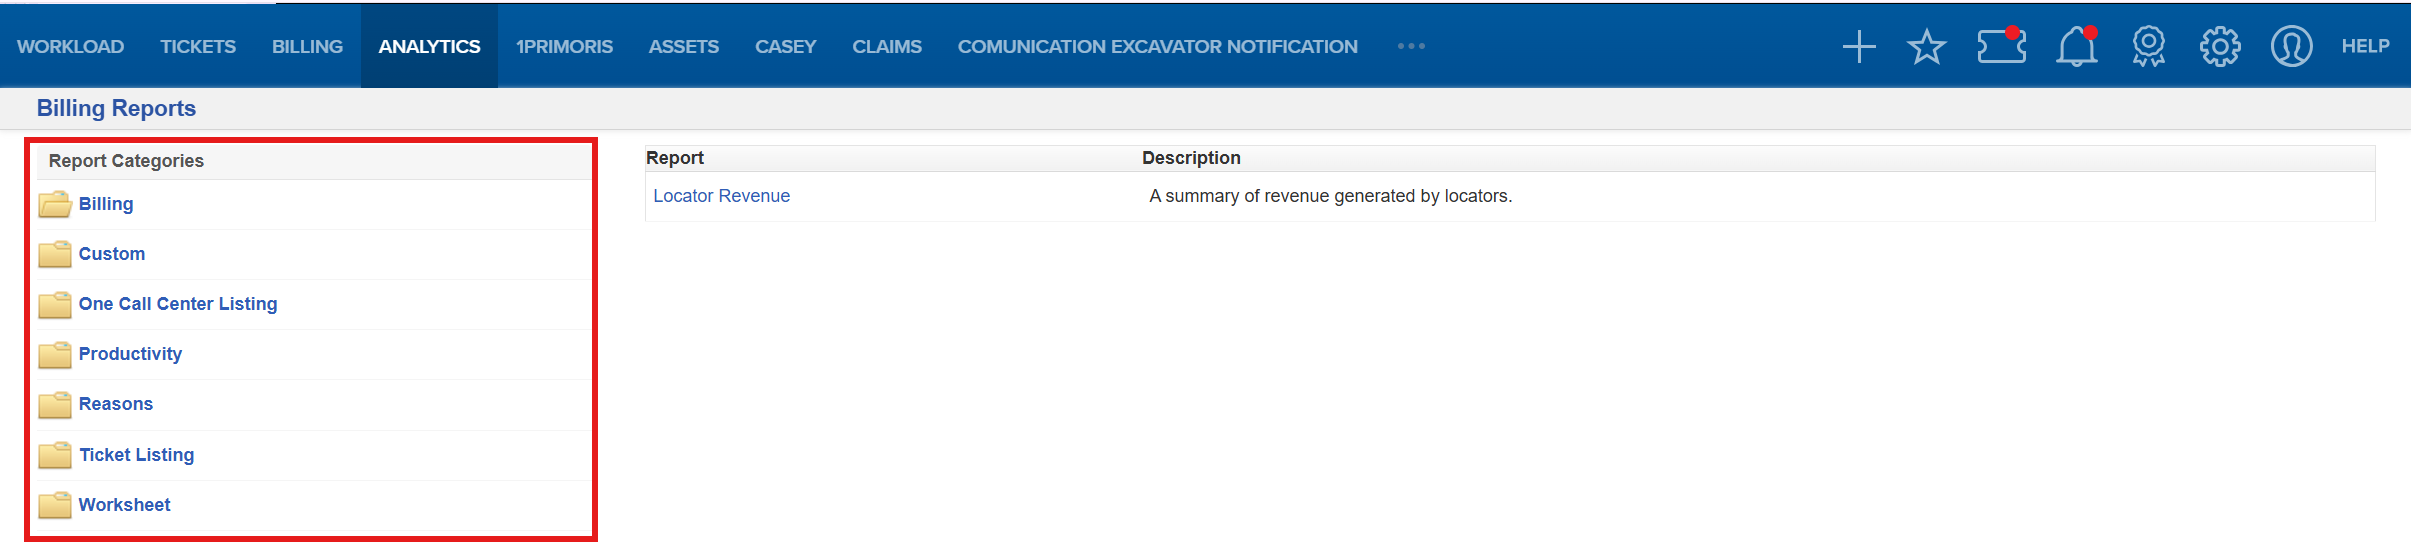
From the left side of the page, select a report category.
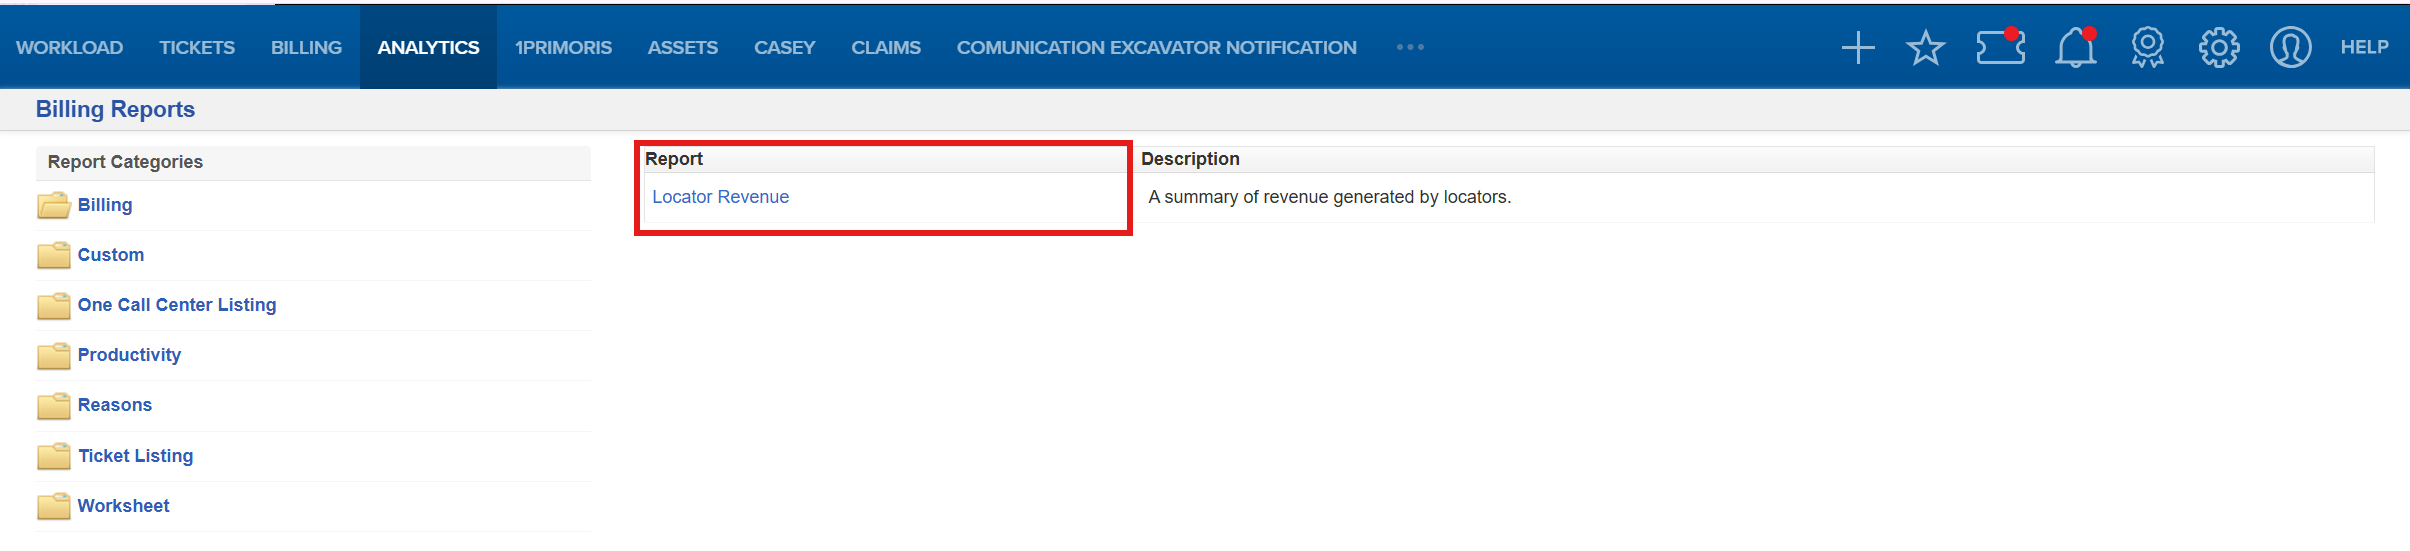
In the Report column, select the name of the report you want to create.
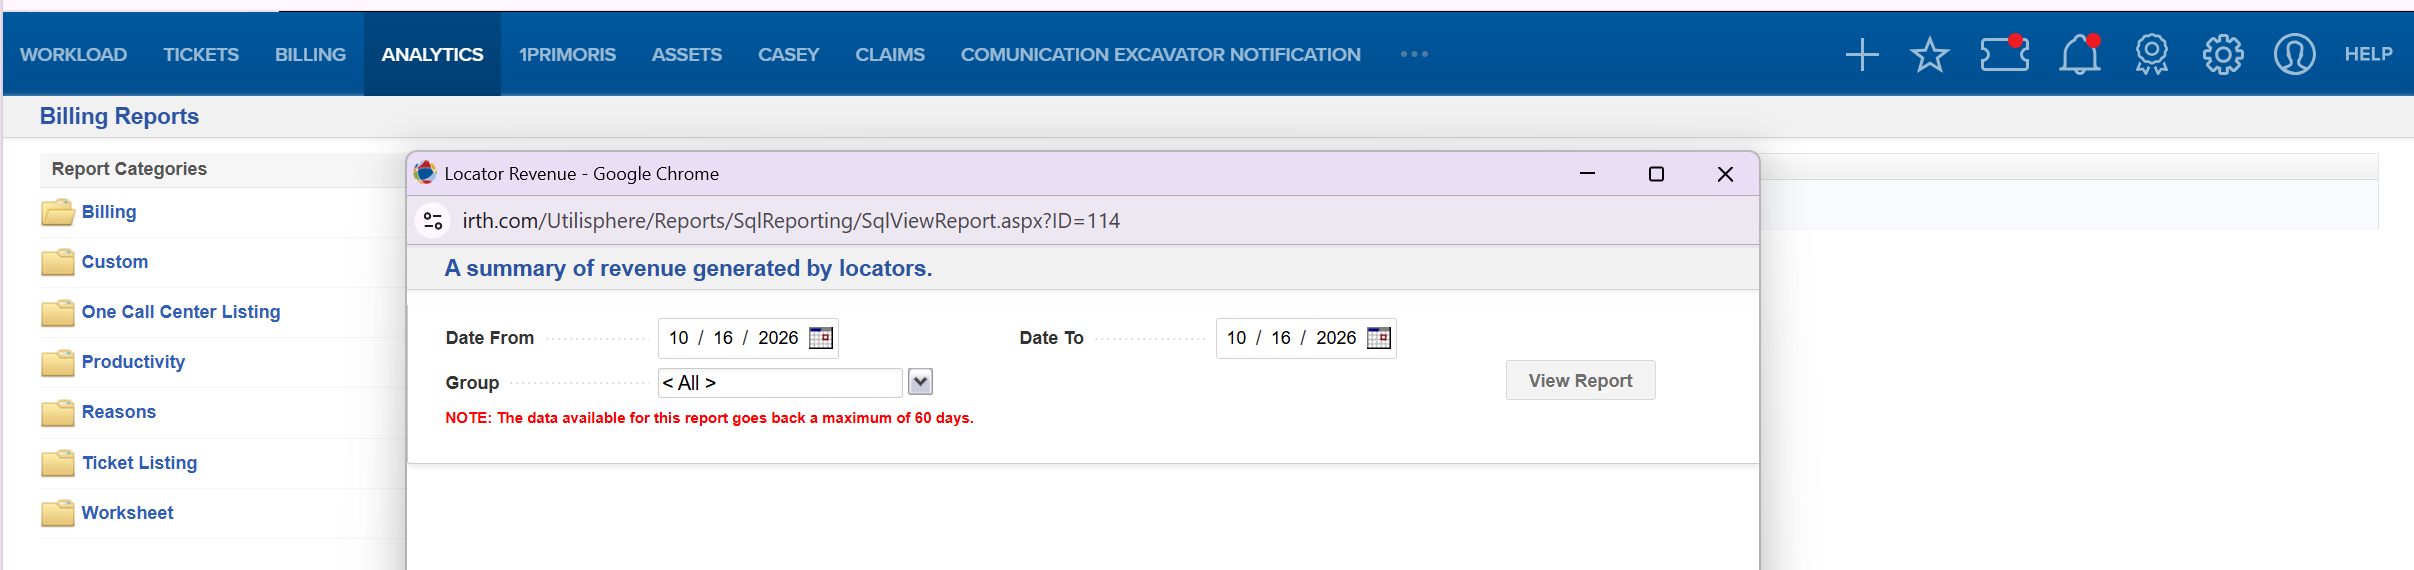
In the report window, complete the available fields.
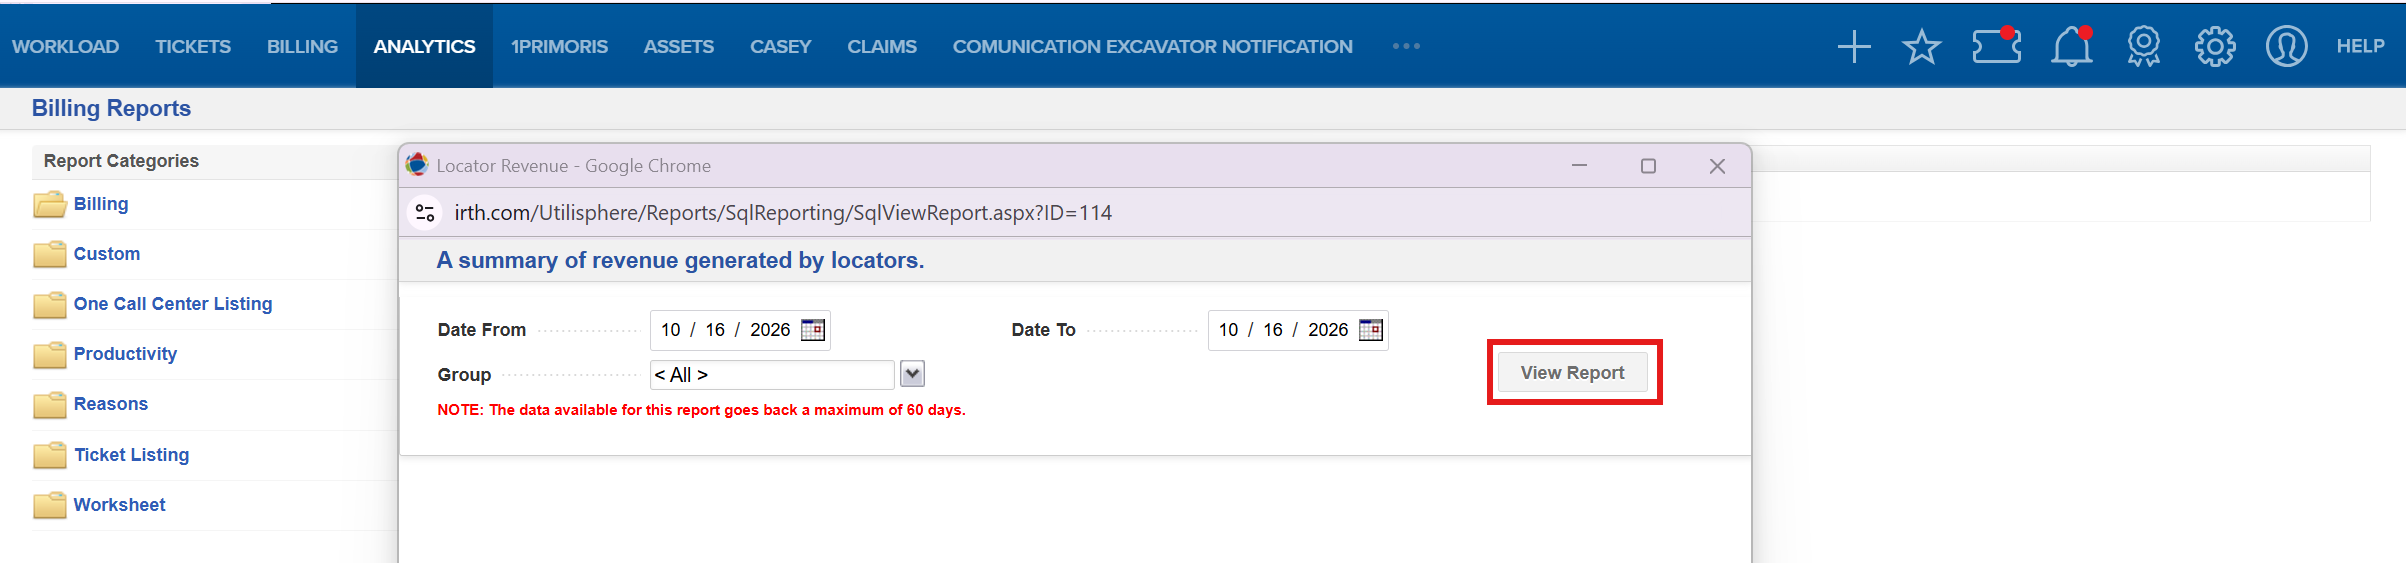
Select View Report.
The report will appear, and you can export it in the format that best works for you.
Report Categories
The following report categories may be available:
- Billing: Provides information about revenue from locators.
- Custom: Provides information about locators and tickets by division.
- One Call Center Listing: Provides information about tickets received from a One Call Center.
- Productivity: Shows actions that users and locators have taken on tickets.
- Reasons: Provides the reasons users selected when assigning a ticket or placing it in a folder. The Reasons option must be configured for your company. For additional information, see Reasons.
- Ticket Listing: Provides information about tickets that are closed, open, received, or past due.
- Worksheet: Creates a printable list of tickets that users can take into the field.
Report Fields
The fields available depend on the selected report. You may see some or all the following options:
- Date From/To: Sets the beginning and ending dates for the report.
- Date Type: Determines which date is used to generate the report.
- Create Date Time: The date and time the item was created.
- Due Date Time: The date and time by which the item must be completed.
- Facility Type: Limits the report to a facility type created by your company.
- Folder: Limits the report to items contained in a selected folder.
- Hours: Limits ticket results based on the number of hours remaining until the scheduled work start time.
- Locator: Limits the report to the user who located and marked the site or facility and responded to the ticket.
- One Call: Limits the report to tickets sent by a selected One Call Center.
- Operator: Limits the report to tickets assigned by a selected operator after initial processing.
- Period: Determines how ticket information is organized.
- Daily: Lists tickets by day.
- Monthly: Lists tickets by month.
- Summary: Lists tickets for the date range entered in the Date From/To fields.
- Registration Code: Limits results to the code used by a One Call Center to identify the company for which the ticket was received.
- Response: Limits results to a selected ticket response. Your company may use custom responses in addition to the standard responses.
- Response Date: Uses the most recent date and time a response was entered on the ticket.
- Show Totals: Displays the total number of tickets during the selected period for each registration code.
- State: Limits results to a selected state.
- Ticket Type Category: Limits results to a selected ticket type category.
Hours and Ticket Results
When an Hours field is available, the selected value may limit report results as follows:
- Short Notice tickets: Received normal tickets that are within the selected number of hours of the scheduled work start time.
- KPI tickets in a folder: Tickets that are within the selected number of hours of the scheduled work start time.
- KPI tickets dispatched: Tickets that have more than the selected number of hours remaining before the scheduled work start time.
- Update tickets: Normal tickets that were updated during the selected reporting period.
A KPI ticket is a normal ticket that is not an Update or Short Notice ticket. Normal tickets include ticket type categories such as Regular, Meet, or Design.
Standard Responses
The following standard responses may be available. Your company may also have custom responses.
- Cleared in field: The field technician determined that the facilities are clear.
- Closed in office: The operator determined that the facilities are clear.
- Closed per update: A newer version of the ticket exists.
- Marked: The facilities are in conflict and have been marked.
- No conflict: The facilities are not in conflict.
- Unable to mark: The facilities could not be located or marked.
Ticket Type Categories
Standard ticket type categories may include:
- Aerial
- Damaged Utility
- Design
- Emergency
- Meet
- Recall
- Regular
- Revision
- Short
Notifications can be configured for ticket type categories. For more information, see Ticket Notifications.
Work with Report Results
After generating a report, you can use the report toolbar to perform the following actions:
- Find: Enter a search term to determine whether it appears in the report.
- Page: Use the navigation arrows to move forward or backward through the report one page at a time.
- Refresh: Generate an updated report using the selected report criteria.
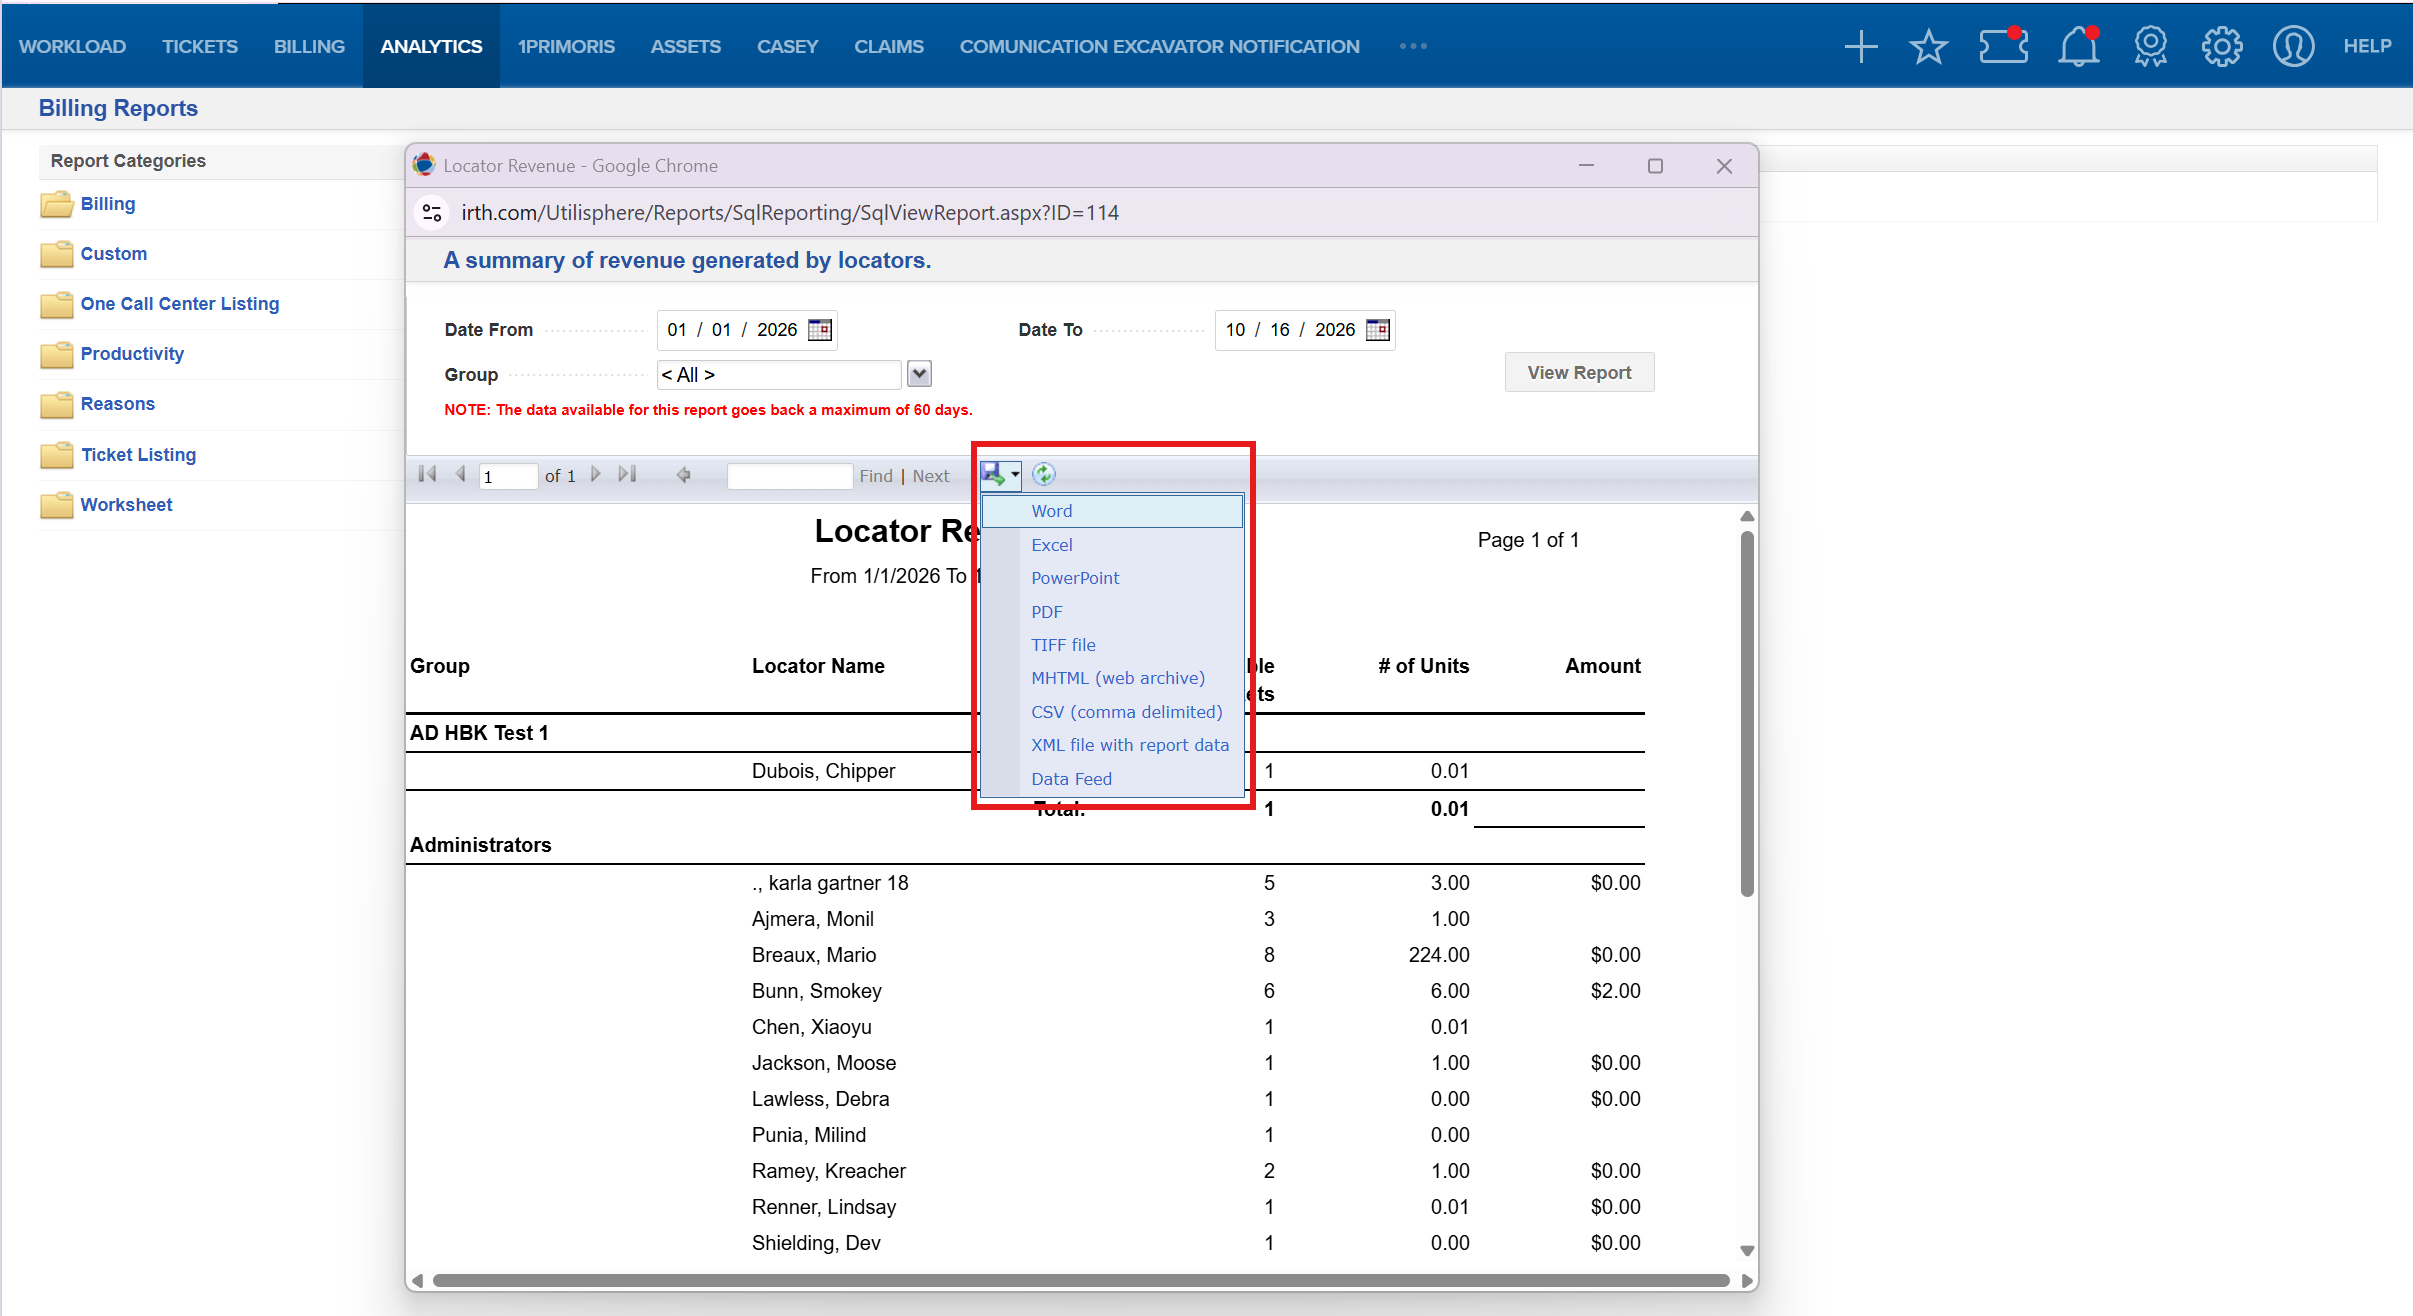
- Export: Save the report in an available file format.
Export Formats
Depending on the report, the following export formats may be available:
- CSV (.csv): A text file in which commas separate the data fields.
- Data Feed (.atomsvc): An XML-formatted text file used to create or update data feeds through the Atom Publishing Protocol.
- Excel (.xlsx): A Microsoft Excel spreadsheet.
- MHTML (.mhtml): A web archive containing the files needed to display the report as an HTML page.
- PDF (.pdf): A fixed-layout document that preserves the report’s text, images, and formatting.
- PowerPoint (.pptx): A Microsoft PowerPoint presentation.
- TIFF (.tif): An image file.
- Word (.docx): A Microsoft Word document.
- XML (.xml): An XML file containing the report data.
FAQ/Troubleshooting:
Q: Why do I not see a specific report or report category?
A: Report availability may depend on your user permissions and your company’s configuration. Contact your Utilisphere administrator if you believe you should have access.
Q: Why do the fields differ between reports?
A: Each report uses criteria specific to the information it provides. As a result, the available fields vary by report.
Q: Why can I not find a ticket in the Ticket Summary?
A: Tickets remain in the Ticket Summary for 60 days. Use the Archive Search to locate tickets older than 60 days.
Q: Why is the Reasons report unavailable?
A: The Reasons option must be configured for your company before the report is available.
Q: Why are some responses or ticket types different from those listed in this article?
A: Your company may use custom responses, facility types, folders, and other configured values.
Q: How do I update the information in an open report?
A: Select Refresh to generate a new version of the report based on the criteria you selected.
Q: Can I save a report?
A: Yes. Select Export, and then choose one of the available file formats, such as Excel, CSV, PDF, or Word.
Questions? Contact us!

Was this article helpful?
That’s Great!
Thank you for your feedback
Sorry! We couldn't be helpful
Thank you for your feedback
Feedback sent
We appreciate your effort and will try to fix the article